Setting Up Two-Factor Authentication
This article outlines the steps to set up your authenticator. It applies to user accounts with 2FA enabled. Upon successful setup of your Authenticator, the system will require you to log in with your password and the 6-digit code from your Authenticator.
Here are the supported Authenticator app you can download.
Step-by-step guide
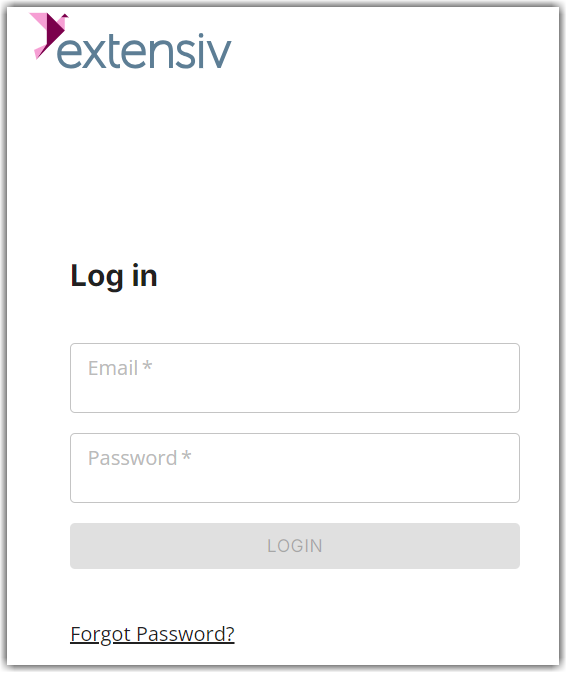
- Log in to Extensiv.
- Enter your username (Email) and password. Then, click LOGIN.
- Open your Authenticator app.
Microsoft Authenticator
- Select the plus (+) icon.
Scan a QR Code
- Select Other account then tap Scan a QR Code.
- Scan the QR code as shown in Extensiv page.
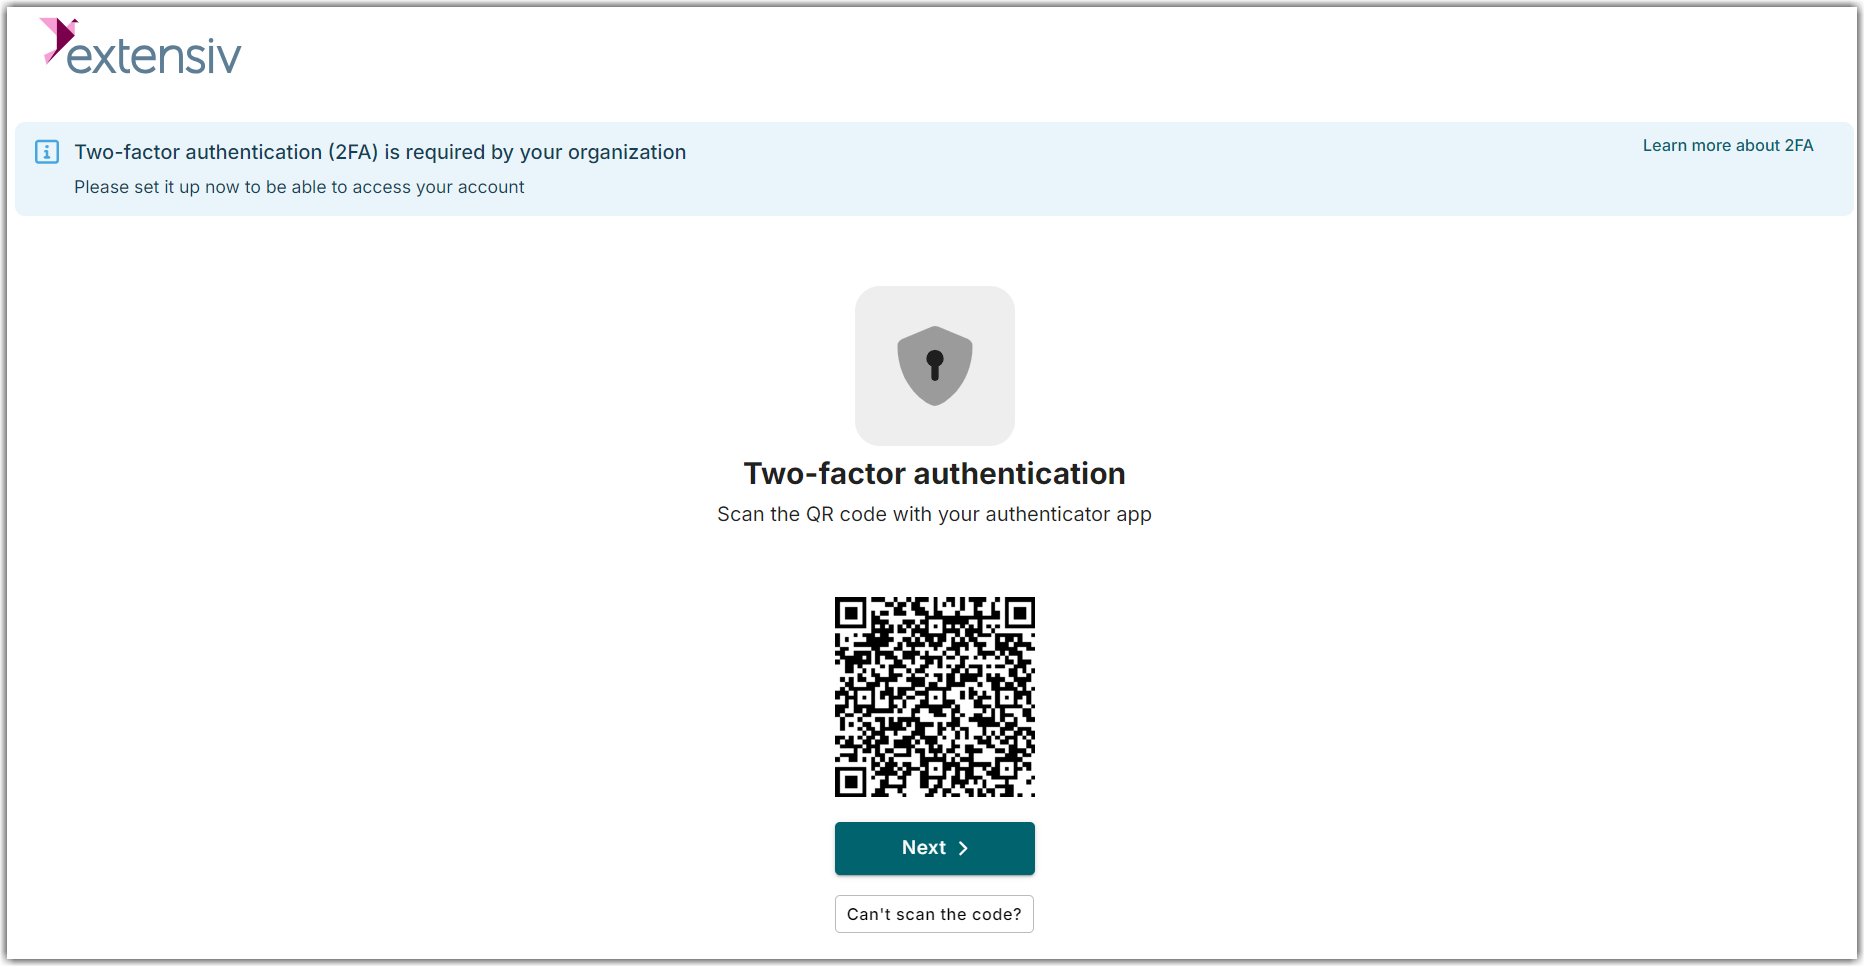
Can't scan the code
- Click Can't scan the code? if you're not able to scan the code.
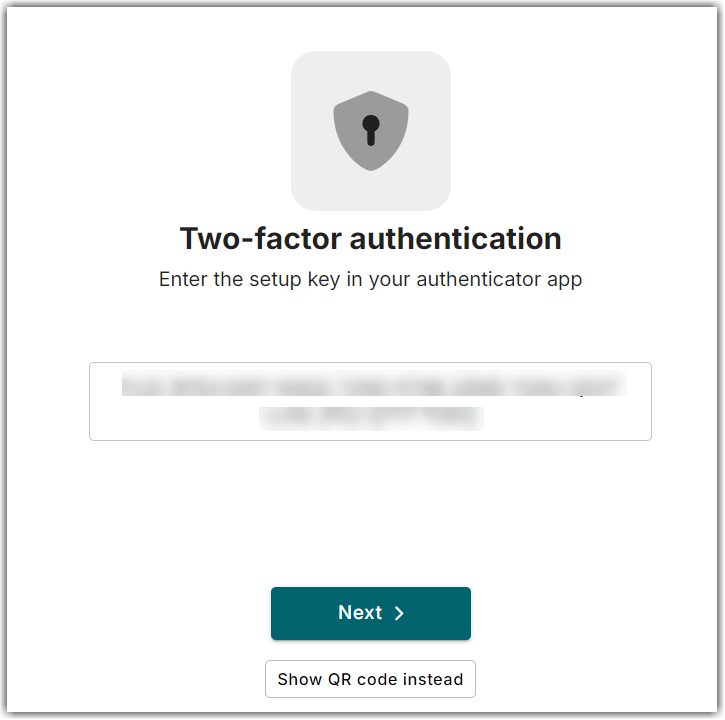
- Click Enter code manually on your mobile device.
- Enter the Account name and copy the code. Type it manually in the Secret Key field on your mobile app.
Google Authenticator
- Tap the Add a code.
- Select Scan a QR code or Enter a setup key.
Scan a QR code
- Click ALLOW if you are prompted with ‘Allow Authenticator to take pictures and record video?’
- Place QR Code within yellow lines.

Enter a setup key
- Enter account name as desired.
- Copy the setup key showing on Extensiv page.
- Click Add.

- Click Next in Extensiv page.
- Enter the 6-digit code generated from your Authenticator app.
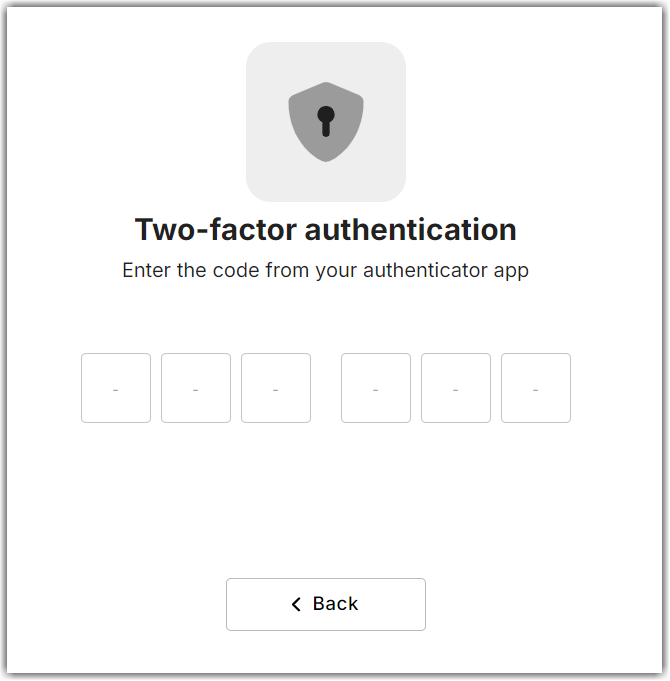
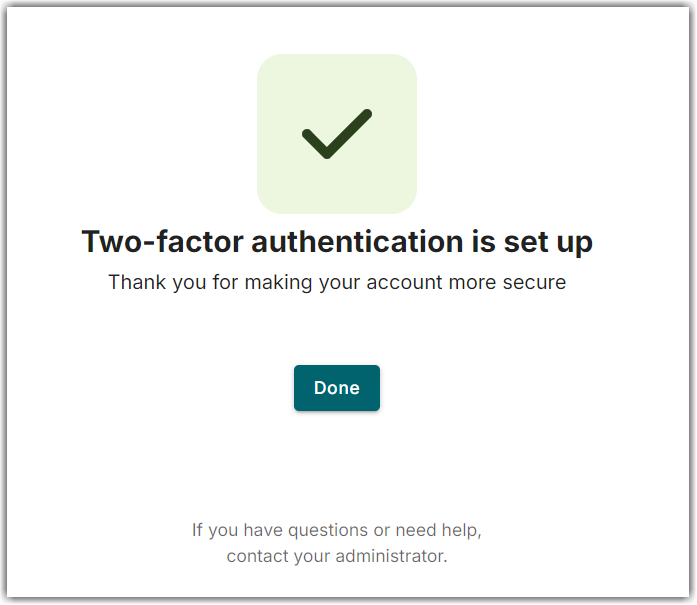
If the code is valid, the system will show a prompt similar to the one below.